Tutorial: Antler Necklace Holder
Point one: I like to keep my favorite necklaces out and on display, because that’s the only way I’ll actually wear them. Point two: in my bedroom I’ve tried to combine the whole “oh hey, someone’s actual functional room” vibe with a sort of nature/museum vibe. Because yes, I am nerd. This is what I did:
And this is how I did it:
Antlers grow and are shed on a yearly basis, and if you poke around on ebay you can easily snatch up shed antlers that people have found whilst wandering about the great outdoors, no harming of animals required. And they’re awesome and pretty!
I put it in a barnwood frame because it matched the rest of my room a bit better, but I think a really ornate and fancy frame would look awesome as well. Here’s how I did it:
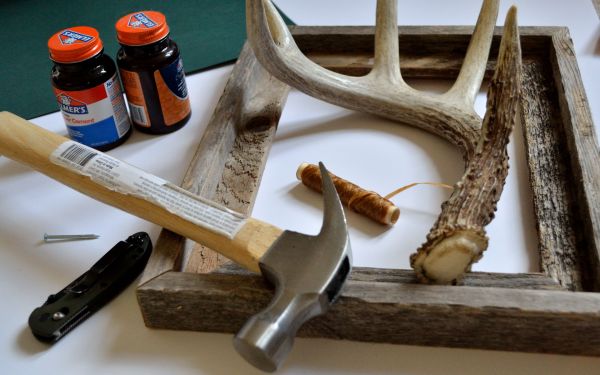
I gathered my supplies and tools, which included the following:
-A frame that fits your antler
-An antler that fits your frame (circular instructions for the win!)
-Foamboard
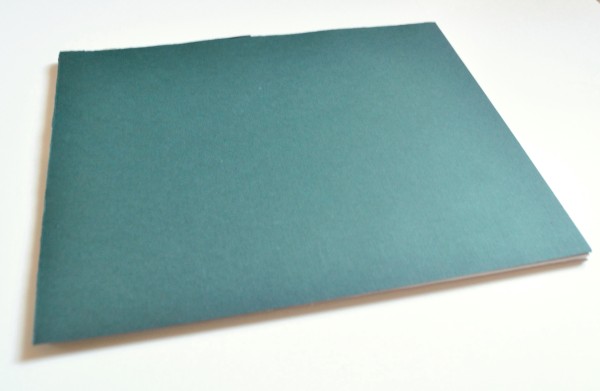
-A pretty piece of paper or fabric large enough to fit in the frame in the color of my choice
-A knife to cut the foamboard
-Glue
-A hammer and some small nails
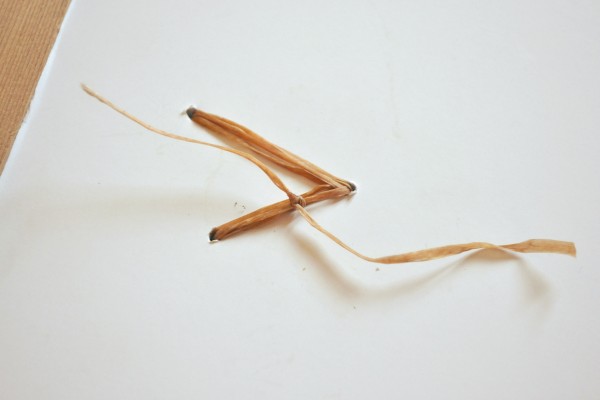
-Something to lash the antler down (twine? ribbon? hemp? leather?), and a yarn or tapesty needle large enough to sew it.
-Frame mounting bits
Oh, and some help:
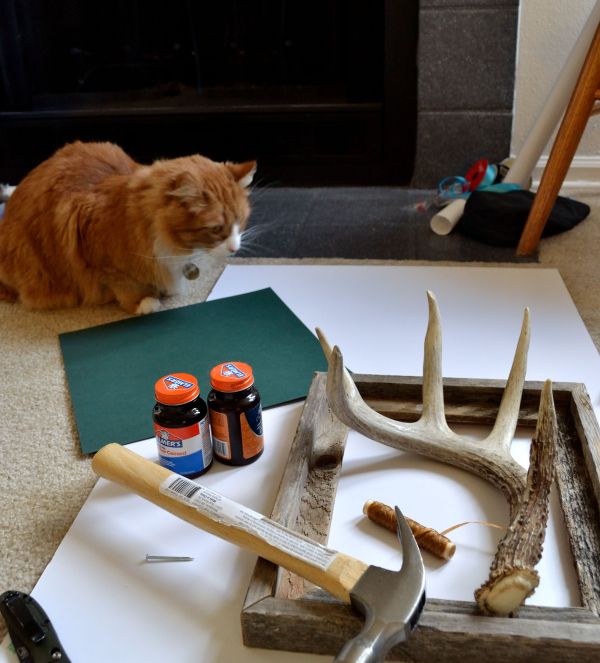
I’ve always got convenient help sitting around. Sometimes, even when I don’t want it!
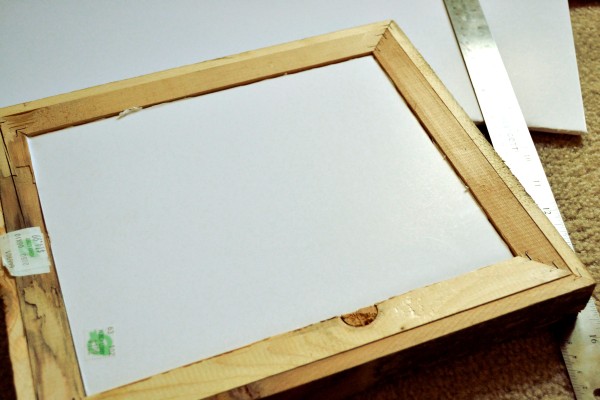
Using ruler and knife, I cut a piece of foamboard to fit snugly into the frame. I wanted the fit to be tight, because I was going to attach a heavy antler to it.
I cut the pretty paper to fit and glued it neatly onto the foamboard:
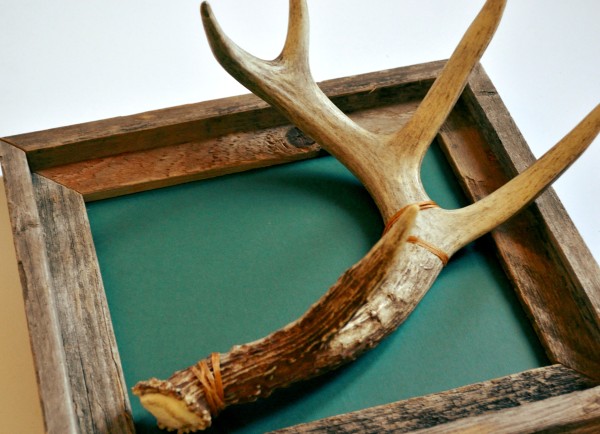
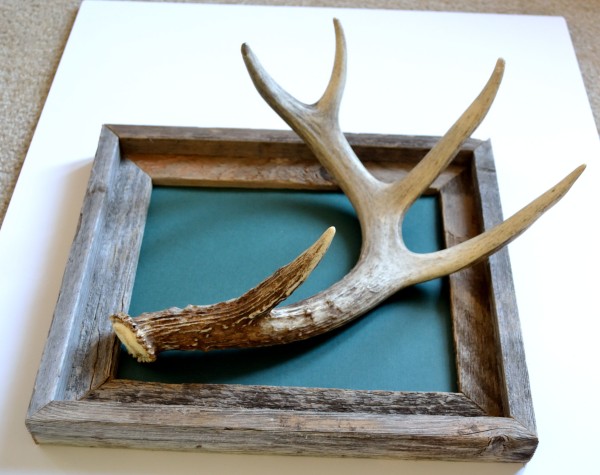
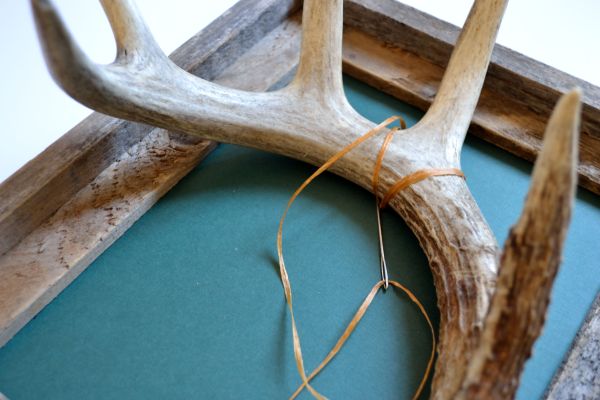
Then popped it back into the frame, and lined up my antler about where I wanted it. Protip: you want the tines of the antler pointing up, so your necklaces don’t succumb to gravity.
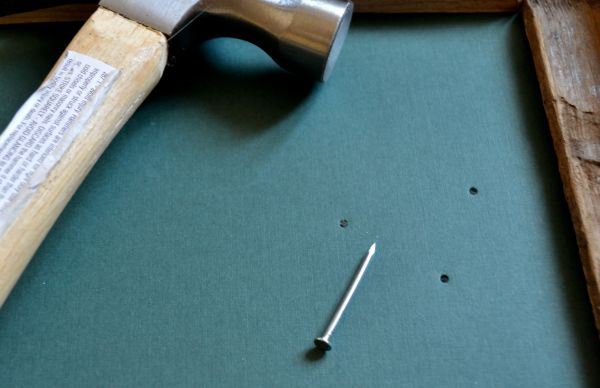
Using hammer and nail, I marked where I would need to attach the antler to the foamboard, then I removed the antler and poked holes all the way through with a quick hammer whack.
I realighned the antler, threaded up my needle, and got to stitching:
I went around and through a bunch of times to make sure it was stable, then knotting off the twine on the back:
Then I globbed some glue on the knits, just to be sure they stayed strong. I have a lot of necklaces to hang on this thing, after all.

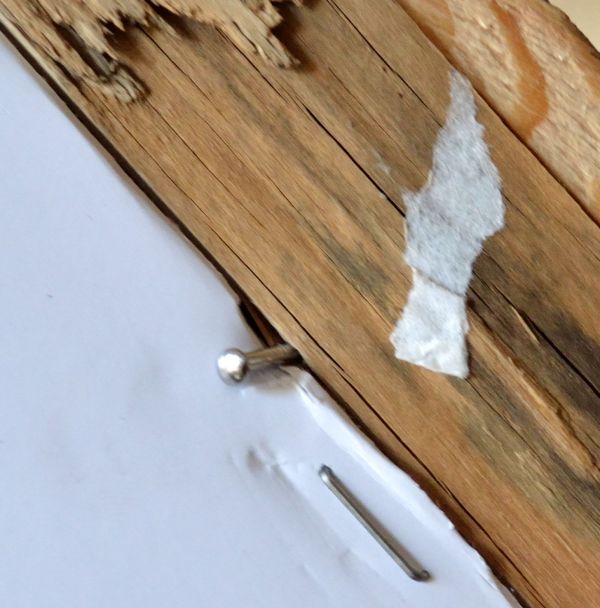
I hammered a few nails around the edge of the frame to make sure the foamboard stayed in (I tried my little staple gun first, but they weren’t long enough for the foamboard):
And attached a hanger onto the back of the frame, so I could, y’know, hang it up:

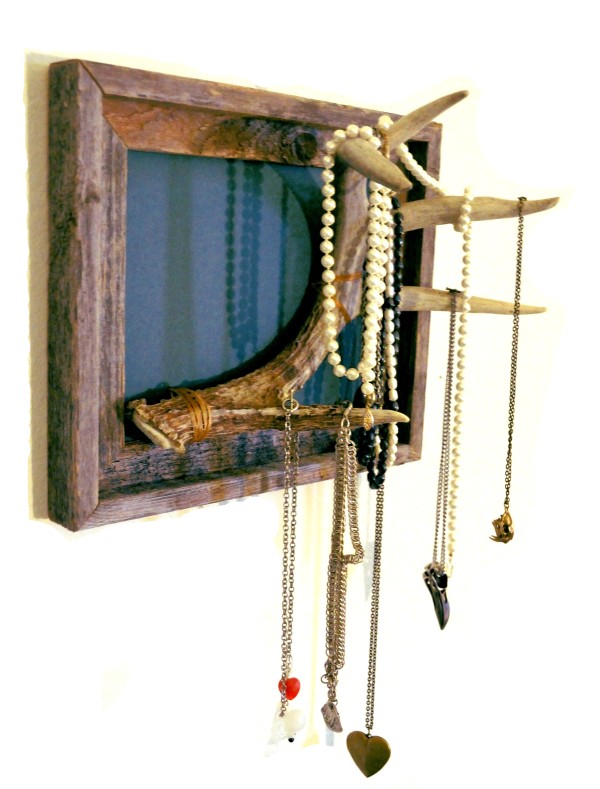
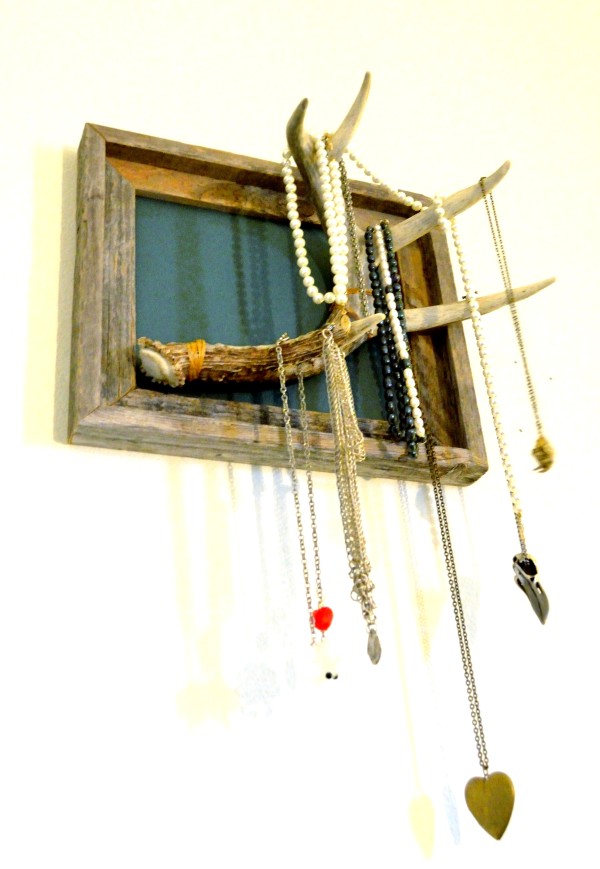
Et voila!
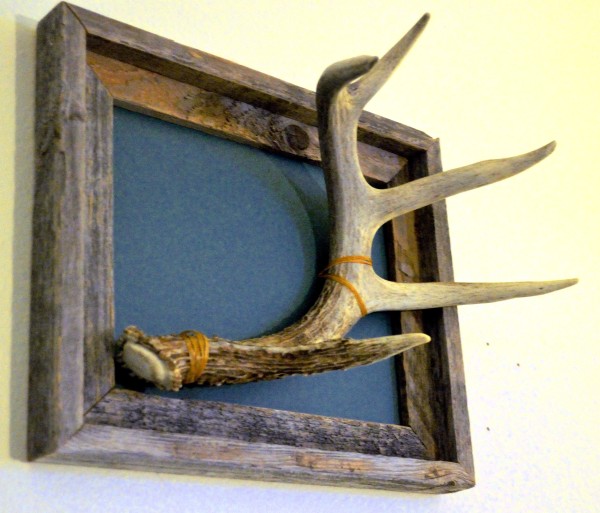
Properly bedecked:

This is brilliant!
It’s even more awesome than what I immagined it to be when you made that project list
I love this so much! I also need to have my necklaces on display or I’ll never wear them. Shoving them in a box just never works for me. Adding this to my Pinterest “to do” board right now!